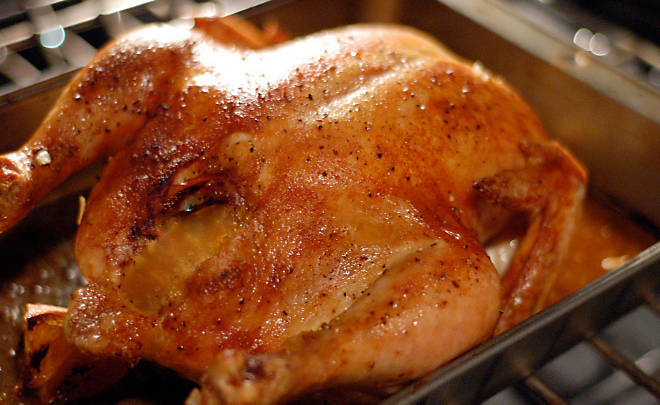
There are countless recipes for “perfect” roast chicken, from simple two-step methods to elaborate three-day preparations, and while we’re not going to tell you which ones we deem “perfect,” we are going to dole out some advice on how to achieve that delicious, crispy skin regardless of which recipe you choose.
Choose the Right Bird
Begin the project with a high-quality, air-chilled chicken.
Fact: in conventional poultry processing the birds are chilled by soaking in icy cold water, which is efficient, but allows for the absorption of water – sometimes up to 12% of the bird’s weight. The extra water dilutes the chicken’s natural juices, creating bland meat and soggy skin, which is much harder to crisp up.

Go air-chilled instead. This method of cooling birds with cold air rather than water leaves chickens without dilution from added water. The meat retains its natural juices leaving you with tender, juicy meat and true chicken flavor. The skin on an air-chilled chicken is much easier to crisp and will give you evenly browned, crunchy and flavorful skin every time.
All D’Artagnan chicken is air-chilled; select from organic chicken or our signature Green Circle Chicken.
Prep the Chicken
To achieve maximum crispness, the skin has to start dry and stay dry – if water is present, it will create steam, which inhibits crisping. For the ultimate crispy skin, start your prep the day before.
Pat the bird dry inside and out (especially if you insist on rinsing the bird). Don’t forget to dry the crevices inside the carcass, in the “pit” of the wings and the area underneath the neck flap. Remove the lump of fat that sits just inside the cavity.

Separate the skin from the meat, but carefully running your fingers between the skin and breast meat, without tearing it. Sometimes we slip truffle butter under the skin, but butter contains water (no steam!), so we more often use tasty duck fat instead.
Gently rub about 2 tablespoons of softened duck fat under the skin, and over the breast. Season the outside with a generous sprinkling of kosher salt, then set the bird on small rack set over a lipped sheet pan and store uncovered in the refrigerator overnight. The kosher salt will bring excess moisture to the surface, which will dry in refrigeration. Be sure to leave plenty of space all around the bird for air circulation.
In the Oven
Remove the chicken from the refrigerator about ½ hour before you’re ready to roast. Recipes may recommend roasting on a rack, a vertical roaster or directly in a shallow pan. Whichever you use, make certain there is adequate airflow all around the bird. For example, the sides of a Dutch oven are too high, blocking airflow and trapping steam so choose a shallow, metal-handled skillet or roasting pan instead.

If using a vertical roaster, put the bird on upside down so the juicy dark meat will “baste” the white meat keeping the breasts moist. If using a rack, start roasting breast side down for the first 30 minutes for the same effect.
The crispiest skin is had from using a convection oven, then an electric oven, and lastly a gas oven. For gas ovens, we recommend roasting at a high temperature. Anywhere between 400 degrees F and 450 degrees F will lend the best results, just be certain to use your exhaust fan. Crispy skin is the goal but don’t overcook the meat in the process! Always check the internal temperature with an instant-read thermometer and pull the chicken out of the oven about 10 degrees early. Residual cooking will continue as the bird rests.

The French way I am going to try….when raw, pour boiling water on the chicken…let sit for a few minutes…then dry. I have been researching this exact topic all morning…and crispy skin with the French method of hot water seems to be fail proof……thought you might like to know what I found!!! Rebecca Covalt Albuquerque
That’s awesom Rebecca thanks!!
*awesome